
Installation Guide
How to install Pow-R-Wall.
A complete installation guide for Pow-R-Wall vertical ICF. Walk through the 8-step process, learn what tools you’ll need, get cold-weather notes, and schedule your free one-on-one virtual training session before your panels arrive.
Before You Begin
Pre-build checklist.
The week before your panels arrive on site, here’s what should already be in place.
Engineering documentation reviewed.
Your project’s stamped engineering ships with the panels. Review it before delivery to confirm wall heights, opening locations, and any custom conditions match your construction drawings.
Footing or slab poured and cured.
Pow-R-Wall installs on standard residential or commercial footings. Footing must be cured to at least 7-day strength before panels go up. Verify footing elevation and squareness before delivery.
Layout marked on the footing.
Snap chalk lines along the wall line, including corner conditions and opening locations. Pre-marking layout saves an hour on install day.
Base angles delivered.
Your project order includes galvanized steel base angles. Confirm they’ve arrived and you have appropriate fasteners (typical: hardened concrete fasteners, 4″ embedment).
Virtual training completed.
Every Pow-R-Wall project includes a free one-on-one virtual training session. Schedule and complete it before delivery, ideally 1-2 weeks ahead of your install date.
What you need on site.
Pow-R-Wall is designed to install without specialty tools or bracing rentals. Here’s the complete list.
Tools
4-foot level (for verifying plumb during install)
Tape measure (25 ft)
Chalk line (already used in pre-install layout)
Utility knife or hand saw (for cutting foam panels on site)
Rotary hammer or hammer drill (for base angle installation into footing)
Standard hand tools (hammer, screwdriver, pencil)
Hard hats, safety glasses, gloves (standard PPE)
Concrete pump or chute (rented from concrete supplier, day of pour)
No specialty bracing rentals. No specialty ICF cutting tools. No specialty fasteners beyond standard concrete anchors for the base angle.
Materials
Pow-R-Wall foam panels (delivered, pre-cut to your wall heights)
Galvanized steel base angles (included with order)
Rebar (sized per engineering drawings)
Rebar retainer clips (included with panel system)
Corner assembly jigs (included with order)
Concrete fasteners for base angle (4″ minimum embedment)
Concrete (3000-4000 PSI, 5-6 in slump — order from local concrete supplier)
Standard accessories: window/door bucks, beam pockets if specified
Everything except concrete and the base-angle fasteners ships with your Pow-R-Wall order. Source concrete from your usual supplier and confirm the mix spec matches your engineering drawings.
The 8-step Pow-R-Wall installation.
A typical residential foundation walks from layout to cured concrete in a 2-3 day sequence. Above-grade walls follow the same process per floor.
Estimated total install time (typical residential foundation, 2-3 person crew): 1-2 days for panel install, plus concrete cure time.
Step 01
Install base angles along the wall line.
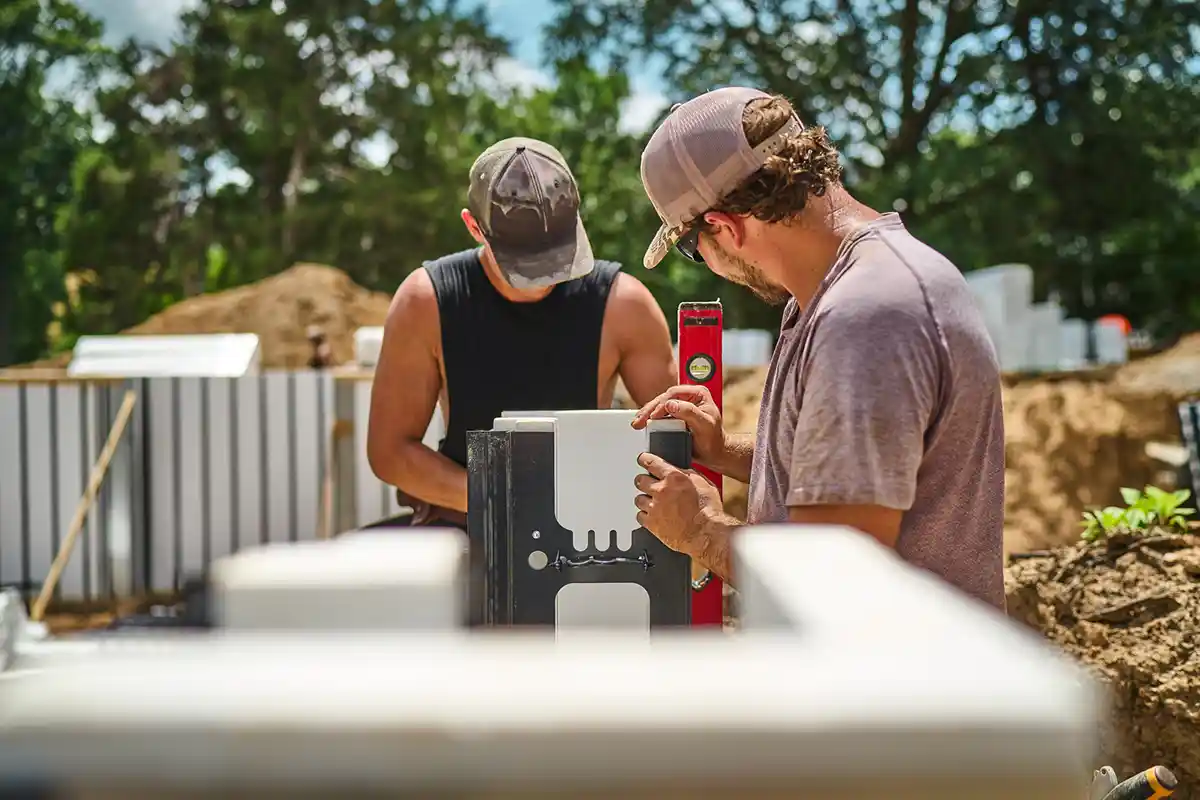
Position the galvanized steel base angles along the chalked layout line. Fasten to the footing with concrete fasteners (4″ embedment, typical 24″ on-center). Verify the angles are straight and square at corners — this is the geometric reference for everything that follows.
~30 minutes per typical residential wall section.
Step 02
Set the corner assembly jigs.
Pow-R-Wall corner assemblies arrive pre-fabricated and engineered to lock the wall geometry at corners. Set the corner jig first at each outside and inside corner. Plumb the corner with the 4-foot level. The corner is the toughest part of any ICF install — Pow-R-Wall makes it the fastest.
~15 minutes per corner.
Step 03
Stand the panels between corners.
Pow-R-Wall panels arrive pre-cut to your wall height. Lift each panel into position between the base angle and the corner jig. The Fail-Safe Locking Grid on the panel edges interlocks each panel with the next — no fasteners required for the panel-to-panel connection. Plumb each panel with the level as you go.
~5 minutes per panel. A typical residential foundation has 15-25 panels.
Step 04
Place rebar in the retainer clips.
Each Pow-R-Wall panel includes pre-positioned retainer clips that hold rebar in the engineered spacing. Slide rebar into the clips — vertical bars first, then horizontal bars. No tying required. The clip pattern is engineered into the system based on your project’s structural design.
~15-30 minutes per wall section, depending on rebar density.
Step 05
Rough in plumbing and electrical pass-throughs.
Cut pass-throughs for plumbing and electrical penetrations using a utility knife or hand saw. The foam cuts cleanly — no specialty tools needed. Position pass-throughs at locations specified in your construction drawings. For interior partition walls, plumbing runs are typically routed through the partition rather than the Pow-R-Wall envelope.
Step 06
Pre-pour inspection.
Before the concrete truck arrives, walk the entire wall: panels plumb, rebar in place, pass-throughs cut, openings framed with bucks if specified. Confirm corner geometry. Verify wall heights match your engineering drawings. This is the moment to catch errors — much harder to fix once the concrete is in.
~30 minutes for a typical residential foundation.
Step 07
Pour the concrete.
Standard concrete pour, no specialty bracing required. Pump or chute, your call — whichever your concrete supplier and site access support. Pour in lifts of 4 feet maximum at a time, allowing each lift to begin setting before the next. Pow-R-Wall holds its own form during the pour; the Fail-Safe Locking Grid keeps the wall plumb without external bracing.
~2-4 hours per typical residential foundation, depending on pour method and wall area.
Step 08
Cure, then move on to the next phase.
Standard concrete cure times apply — typically 24-72 hours before moving to the next construction phase, depending on weather and concrete mix. Once cured, the foam panels stay in place as permanent insulation. Furring strips at 16″ on-center are ready to accept standard finish materials — drywall, siding, brick ties, electrical boxes.
Five things crews wish they’d known.
Common mistakes from the first hundred Pow-R-Wall projects we shipped — and how to avoid them.
Climate-specific notes.
Cold weather · below 40°F
Pouring in cold weather.
The foam insulation actually helps in cold weather — it slows heat loss from the curing concrete, often eliminating the need for blankets or supplemental heat. Standard cold-weather concrete admixtures (accelerator, water reducer, air-entrainment) are compatible with Pow-R-Wall. Avoid pouring below the concrete supplier’s recommended minimum temperature. Below 20°F, contact your installation specialist for project-specific guidance.
Hot weather · above 85°F
Pouring in hot weather.
The foam insulation slows heat from the cure’s exothermic reaction from dissipating — meaning concrete can reach higher peak temperatures in hot conditions than it would in an exposed pour. Standard hot-weather concrete practices apply: keep concrete cool during delivery, pour in early morning when possible, use water-reducing admixtures to maintain workability without adding water. Above 95°F, contact your installation specialist.
Watch it. Then schedule training.
Video tutorials cover the full installation sequence. Then schedule your free one-on-one virtual training to walk through your specific project before delivery.
Video library
Installation videos
Six videos in the Pow-R-Wall installation library, covering each major step plus common variations. Updated as our installation specialists add new content from real project sites.
Virtual training
Your free training session
Every Pow-R-Wall project order includes a one-on-one virtual training session with an installation specialist. We walk through your specific project’s panel schedule, corner conditions, pour sequence, and any custom details. Typical session: 60-90 minutes. The specialist is the same person available by phone during your install if questions come up.
Installation FAQ.


Installation questions before you break ground. If yours isn’t here, the virtual training session gets it answered.
How many people do I need on the crew?
A 2-3 person crew can install a typical Pow-R-Wall residential foundation in a single day. Above-grade walls and commercial projects scale crew size with wall area. We’ve seen crews of 6-8 install large commercial envelopes in a single day on aggressive schedules.
What if I make a mistake during install — can panels be removed and re-set?
Yes. Before the concrete pour, panels can be lifted out of the base angle and corner jigs and reset. After the pour, modifications require cutting and patching, which is more involved. Catch errors before the pre-pour inspection (Step 6) and re-set as needed.
Do I need a permit to install Pow-R-Wall?
Yes — Pow-R-Wall walls are structural and require the same building permits as any other wall system. Your project’s engineering stamp provides the documentation your AHJ (Authority Having Jurisdiction) needs for permit submission. Permit requirements vary by jurisdiction.
What if the concrete supplier shows up with the wrong mix?
Reject the load. The engineering documentation on your project order specifies the concrete mix requirements (typically 3000-4000 PSI, 5-6 in slump). Pouring the wrong mix can compromise structural performance and void the engineering stamp. A delayed pour day is cheaper than a non-conforming wall.
Can I leave the Pow-R-Wall foam exposed long-term, before installing finishes?
Yes — the foam panels are stable for extended exposure to weather between install and finish, though UV exposure over many months can degrade the foam surface. For projects with delays between install and finish, cover the foam with construction wrap or temporary sheathing if exposure exceeds 30-60 days.
For Builders, Homeowners, and Architects
Ready to build with Pow-R-Wall?
Talk with a specialist. No pressure, no obligation, just clarity.
Stamped drawings with every project
